The next thing we started working on was the UI for editing room properties. From the get go we knew we wanted to use a Popover as it just made since, otherwise we would have had to figure out a way to select a room in the editor UI and then click properties or something… would have been a nightmare.
Early UI
So we added a double click action to the editor. When the user holds the command key and double clicks a cell a popover opens like so:
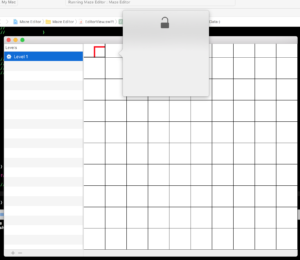
That was the very first implementation with a test UI and the placement wasn’t correct, but it helped to prove that it could be done.
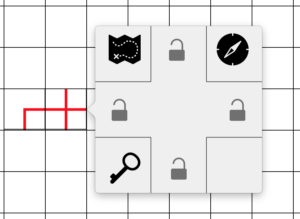
Close to final UI
The next thing we needed to do was make sure we provided a proper UI for everything we wanted to include.
- Locks for each direction the player can move in
- a way to indicate which key items (unique per level) are in a room
- whether or not the room is the entrance or exit to the level
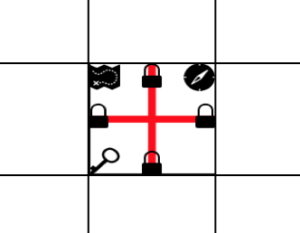
and finally we see what the room looks like after the room properties popover closes:
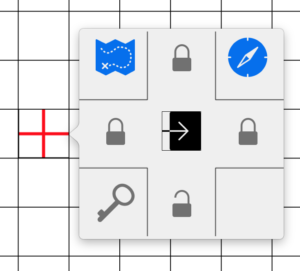
Entrance/Exit indicator
One issue we ran into was trying to figure out how to present our UI for the Entrance/Exit given that a room can’t both be an entrance and an exit, we decided to go with a custom Button control, where we utilize the button state indicators that are built-into macOS:
But we had trouble with getting the images that we wanted to show in each state by using the built-in NSButtonView, so for this solution we rolled our own by subclassing NSImageView. On each click of the button we had a different state displayed:
 |
 |
 |
| NSOffState | NSMixedState | NSOnState |
Final Room Properties UI
And with that we were able to edit individual rooms’ properties and have them be shown after the room was done being edited. Here’s the final UI with all properties and indicators working:
That’s all for now!